 EN
EN
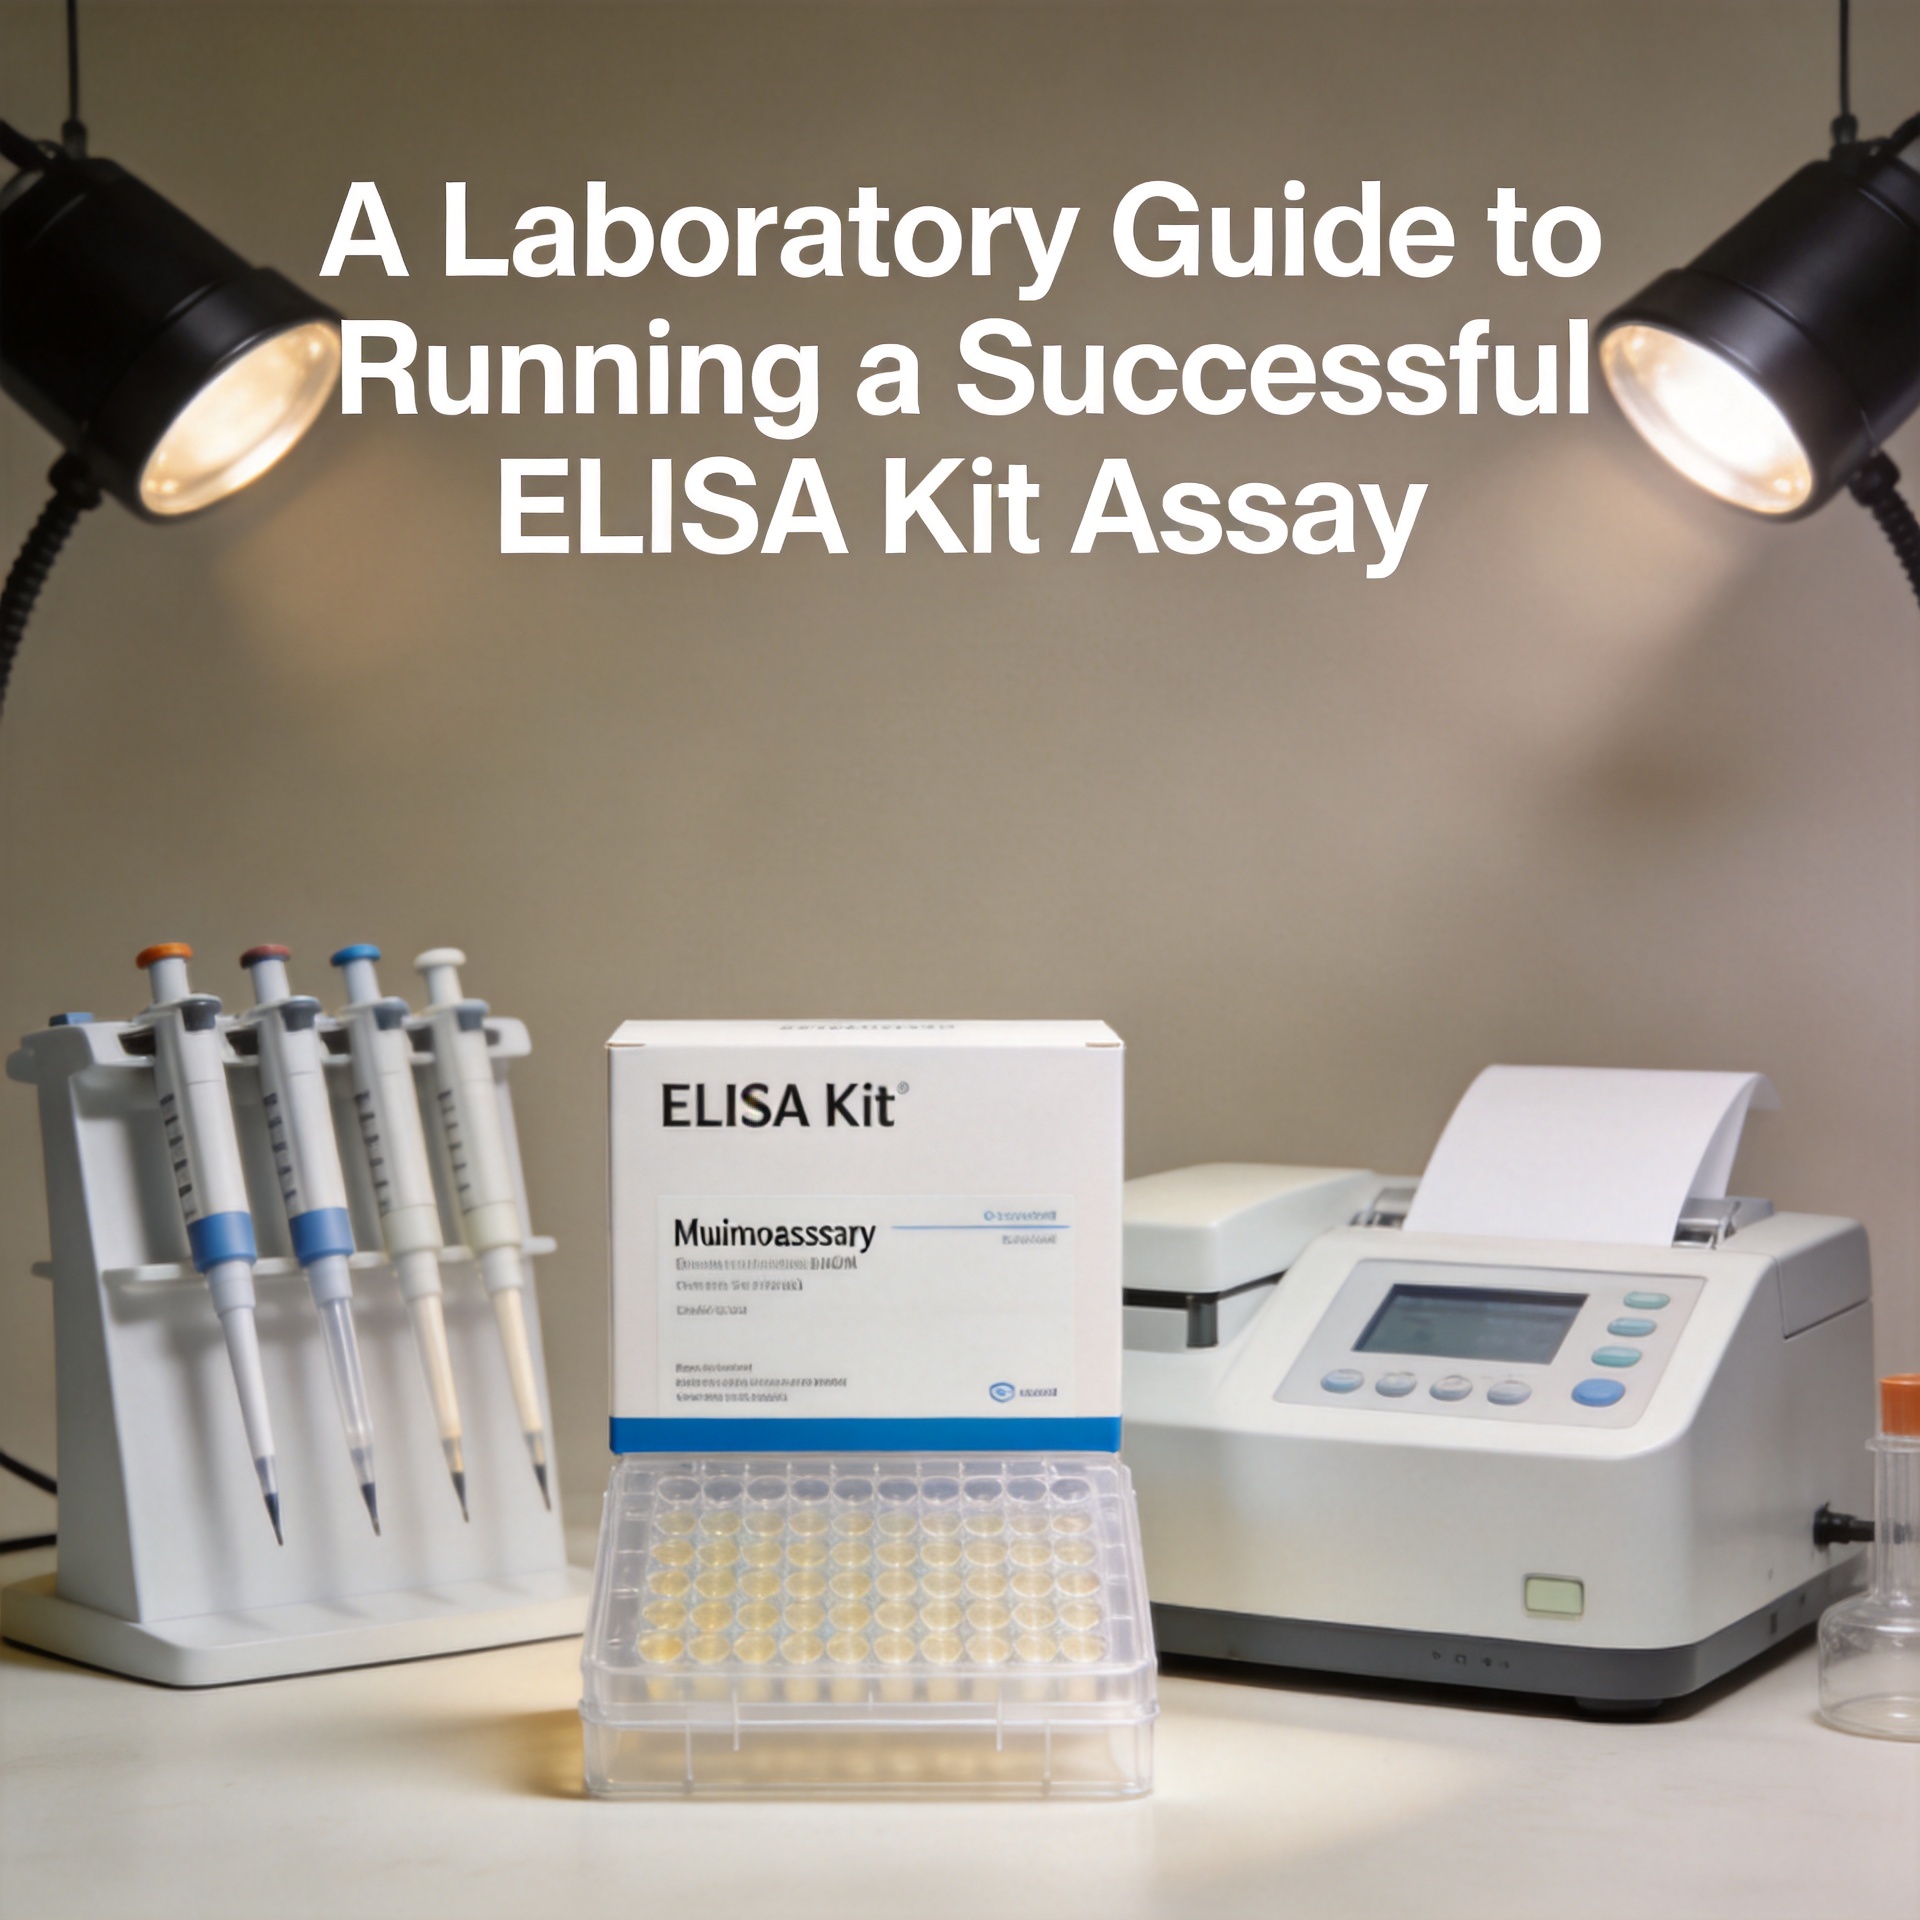
A Laboratory Guide to Running a Successful ELISA Kit Assay
The quality of ELISA results depends less on luck and more on how precisely each step is executed. An ELISA Kit — short for Enzyme-Linked Immunosorbent Assay Kit — provides a standardized, reproducible format for quantifying specific proteins, cytokines, hormones, and other biological analytes in diverse sample matrices. Knowing what a kit contains is only the beginning. Understanding how to run the assay correctly is what separates a clean dataset from a plate of confusing signal noise.
This guide walks through a complete ELISA assay procedure — from preparation through data analysis — covering both sandwich ELISA kit and competitive ELISA kit formats.
Step 1: Choose the Right ELISA Kit Format for Your Analyte
Before pipetting a single sample, you need to confirm that the kit format matches your analyte and experimental goals. The two most common formats behave very differently:
- Sandwich ELISA Kit: Well suited for larger proteins and cytokines. A capture antibody coated on the plate binds your target antigen; a second detection antibody then binds to a different epitope on the same antigen, creating a "sandwich." This format offers high specificity and is the most widely used approach for ELISA kit for cytokines such as IL-6, TNF-alpha, and IFN-gamma.
- Competitive ELISA Kit: Designed for small molecules and low-molecular-weight antigens — typically below 10,000 Daltons — including steroids, peptides, and small hormones. In this format, sample antigen competes with a labeled antigen for limited antibody binding sites. Higher sample concentration results in a lower signal, which is the inverse of a sandwich assay.
If you are unsure which format your kit uses, check the kit's insert or the product specification from your human ELISA kit manufacturer. Using the wrong format assumptions for data calculation will invalidate your entire standard curve.
Step 2: Pre-Assay Preparation
Skipping preparation is one of the most common sources of variability. Allow at least 30 minutes before starting:
- Bring all reagents — including standards, detection antibody, and streptavidin-HRP — to room temperature (RT). Cold reagents create inconsistent binding kinetics.
- Prepare fresh wash buffer by diluting the concentrate according to the kit instructions. Buffer prepared days in advance or stored improperly can introduce carry-over artifacts.
- Prepare your working standards by serial dilution using the diluent provided. Most kits include a high-concentration standard that requires at least 6–8 dilution points to build a complete standard curve.
- Prepare all biological samples: thaw frozen specimens on ice, centrifuge to remove cell debris if needed, and dilute with the recommended sample diluent if expected concentrations exceed the standard curve range.
Assume your diluent is kit-specific — substituting a generic buffer without validating it first may affect binding efficiency in ways that aren't immediately obvious from the optical density readouts.
Step 3: Plate Coating and Blocking
Most commercial ELISA kits ship with pre-coated plates where the capture antibody is already bound to the well surface. If your kit includes uncoated plates and a separate capture antibody, you will need to coat the plate yourself:
- Dilute the capture antibody in coating buffer to the concentration specified in the kit insert.
- Add 100 µL per well and incubate overnight at 4°C, or for 2 hours at room temperature with gentle agitation.
- Wash the plate 3 times with wash buffer to remove unbound antibody. Incomplete washing at this stage leaves residual capture antibody that can increase background.
- Block by adding 200–300 µL of assay diluent or blocking buffer per well. Incubate for 1–2 hours at room temperature. Blocking prevents non-specific protein adsorption to the plate surface.
- Wash 3 times again before proceeding to sample addition.
Pre-coated kits skip directly to the blocking or sample addition step — read your kit's specific protocol carefully, as steps can vary between manufacturers.
Step 4: Sample and Standard Incubation
Here the capture event happens. Add your prepared standards and samples — typically 100 µL per well — and seal the plate with an adhesive film. Incubate for 2 hours at room temperature or overnight at 4°C, depending on your kit's validated conditions.
In my experience observing different institutions run the same ELISA kit for cytokines under varying conditions, the primary source of inter-laboratory variability isn't usually the kit itself — it's inconsistency in incubation time and temperature between runs. If your plate sits at slightly different temperatures on different days, your standard curve will shift, making inter-assay comparisons difficult. A key benchmark to maintain: intra-assay CV values should stay below 10%, and inter-assay CV values below 15%.
After incubation, perform 3–5 washes with wash buffer. Thorough washing is critical: residual unbound sample proteins left in the wells will compete with the detection antibody and elevate background signal.
Step 5: Detection Antibody and Signal Amplification
For a sandwich ELISA kit, the next steps involve the detection antibody and signal enzyme:
- Add the detection antibody (typically biotinylated) at the concentration specified in the kit insert — usually 100 µL per well. Incubate 1–2 hours at room temperature.
- Wash 3–5 times to remove unbound detection antibody.
- Add the Streptavidin-HRP conjugate. Incubate 20–30 minutes at room temperature, protected from direct light.
- Wash again 5 times. At this stage, thorough washing is especially important because residual HRP activity will inflate your final signal.
For a competitive ELISA kit, the detection workflow differs — the labeled antigen and sample antigen are added together with the antibody. Follow the kit's competitive-format protocol exactly, as the sequence and concentrations are calibrated differently.
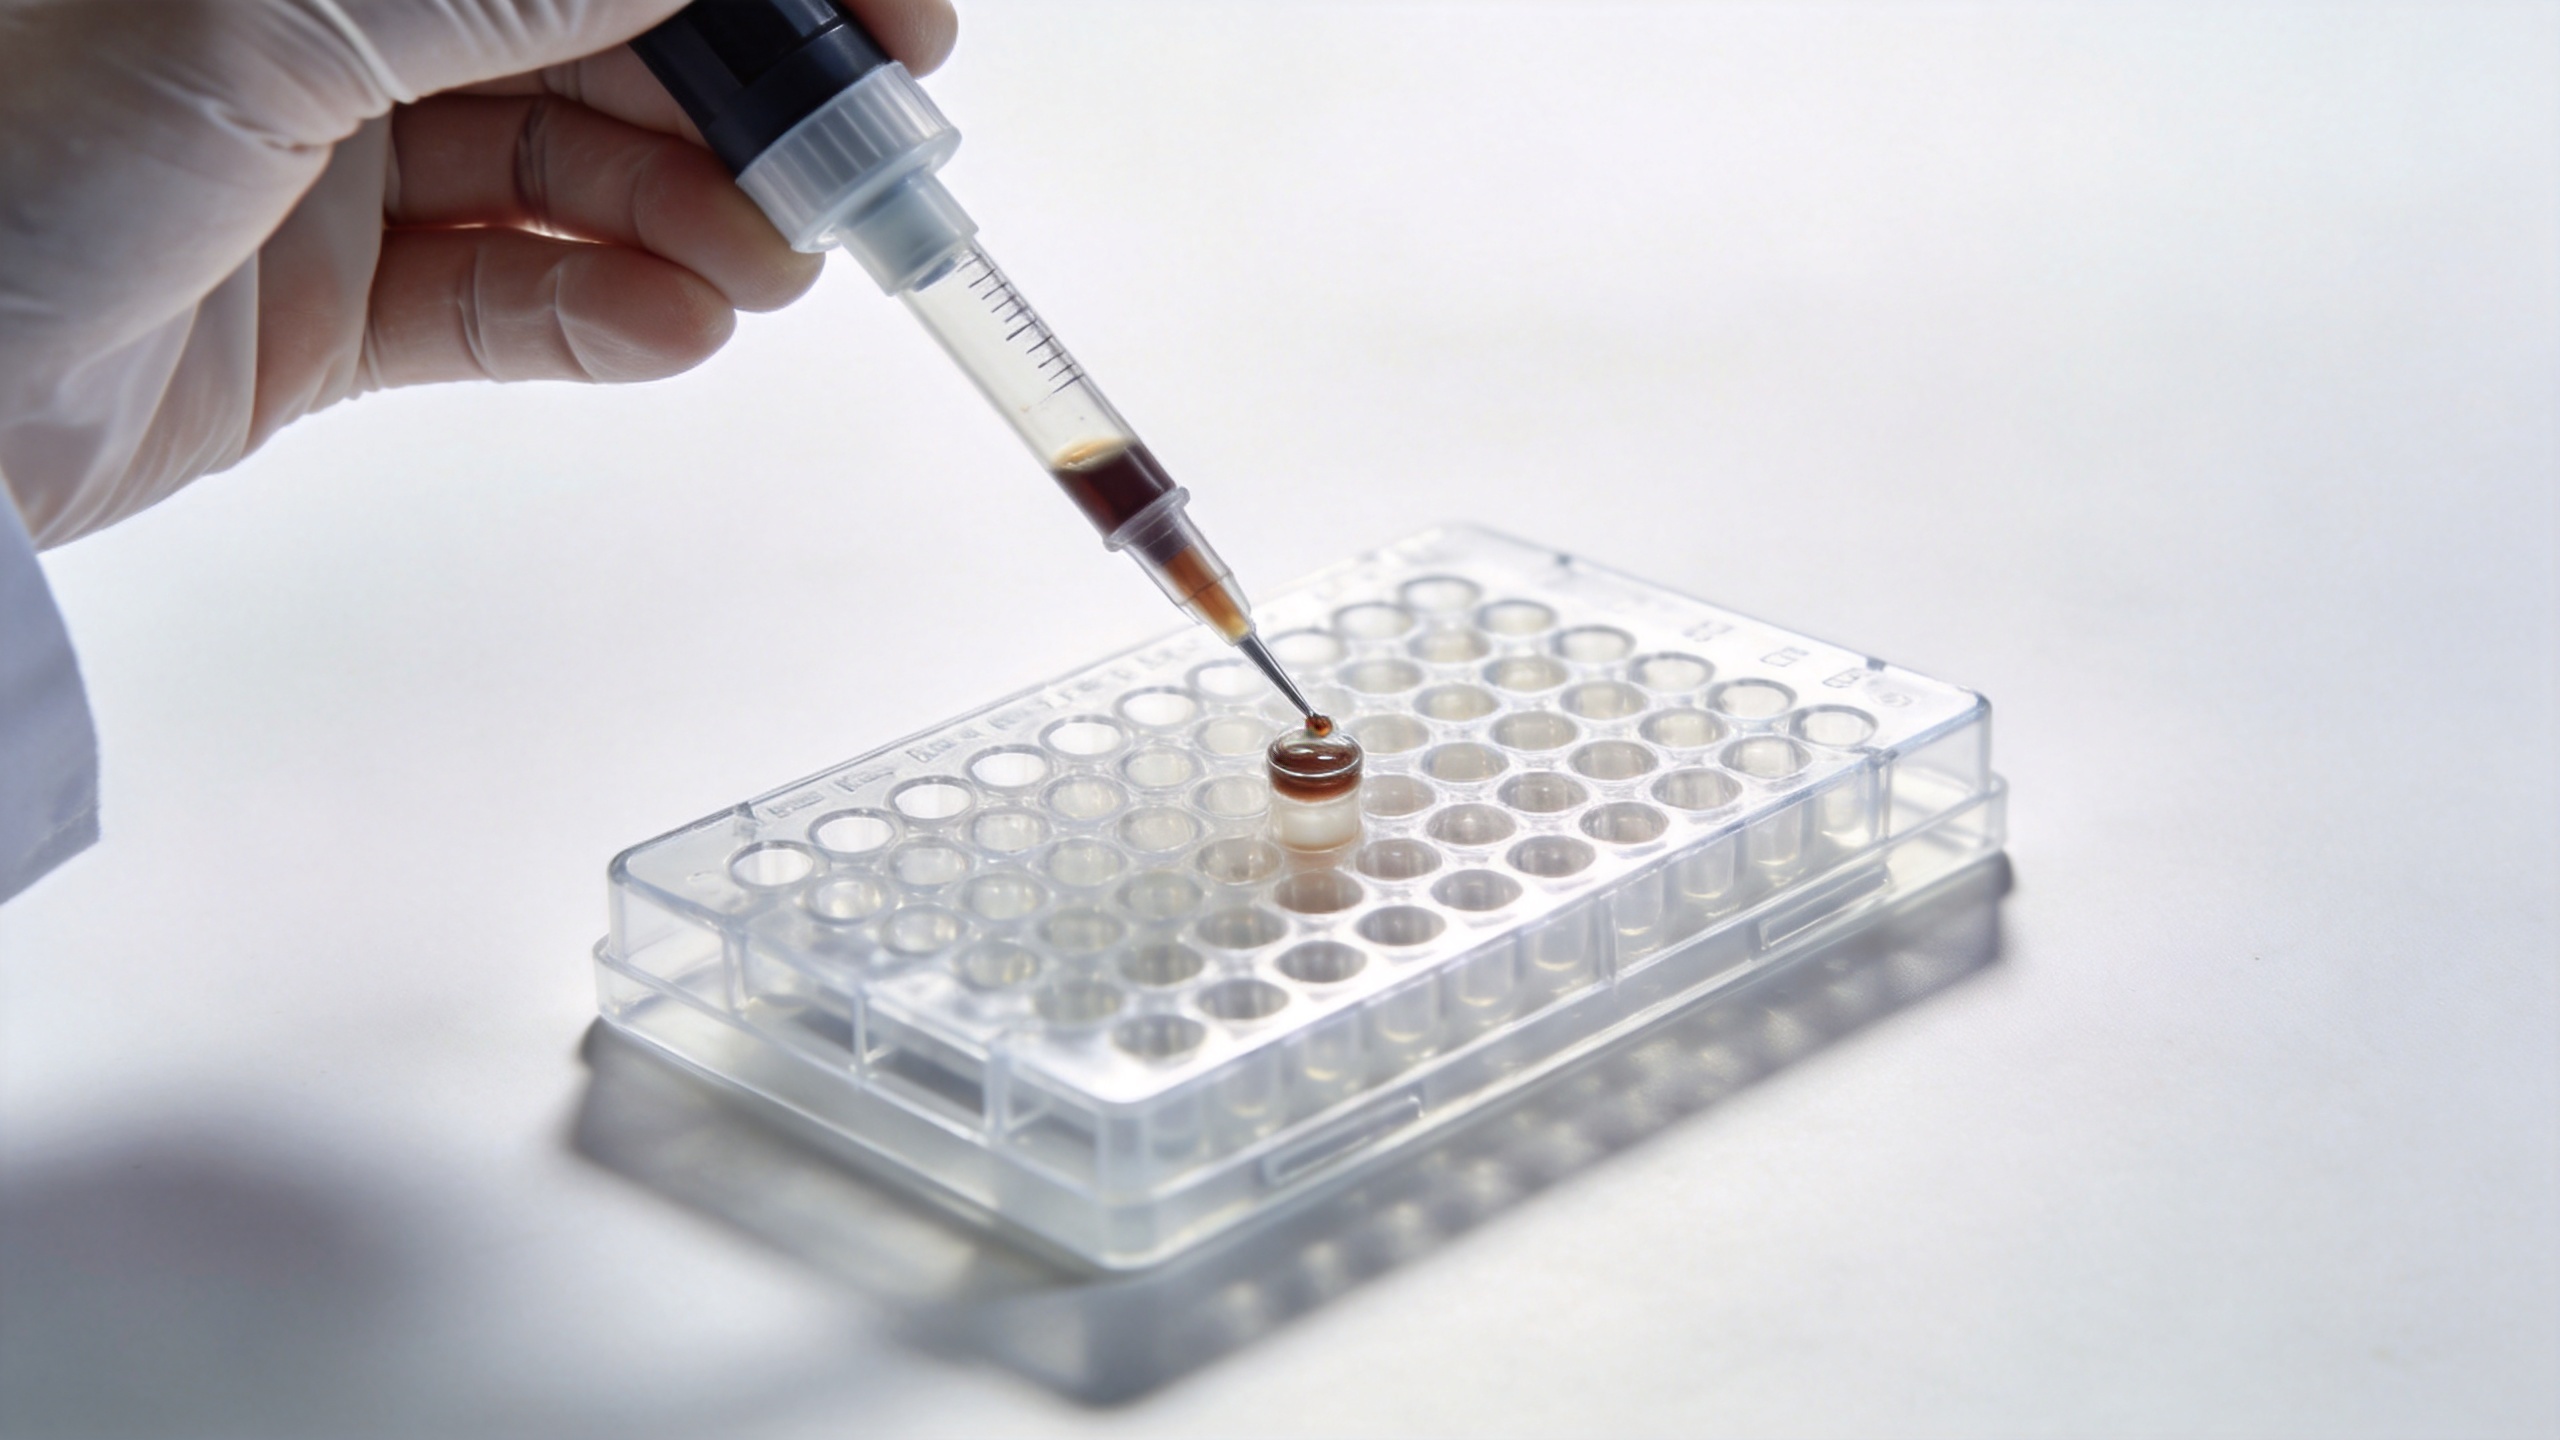
Step 6: Substrate Addition, Stop Reaction, and Plate Reading
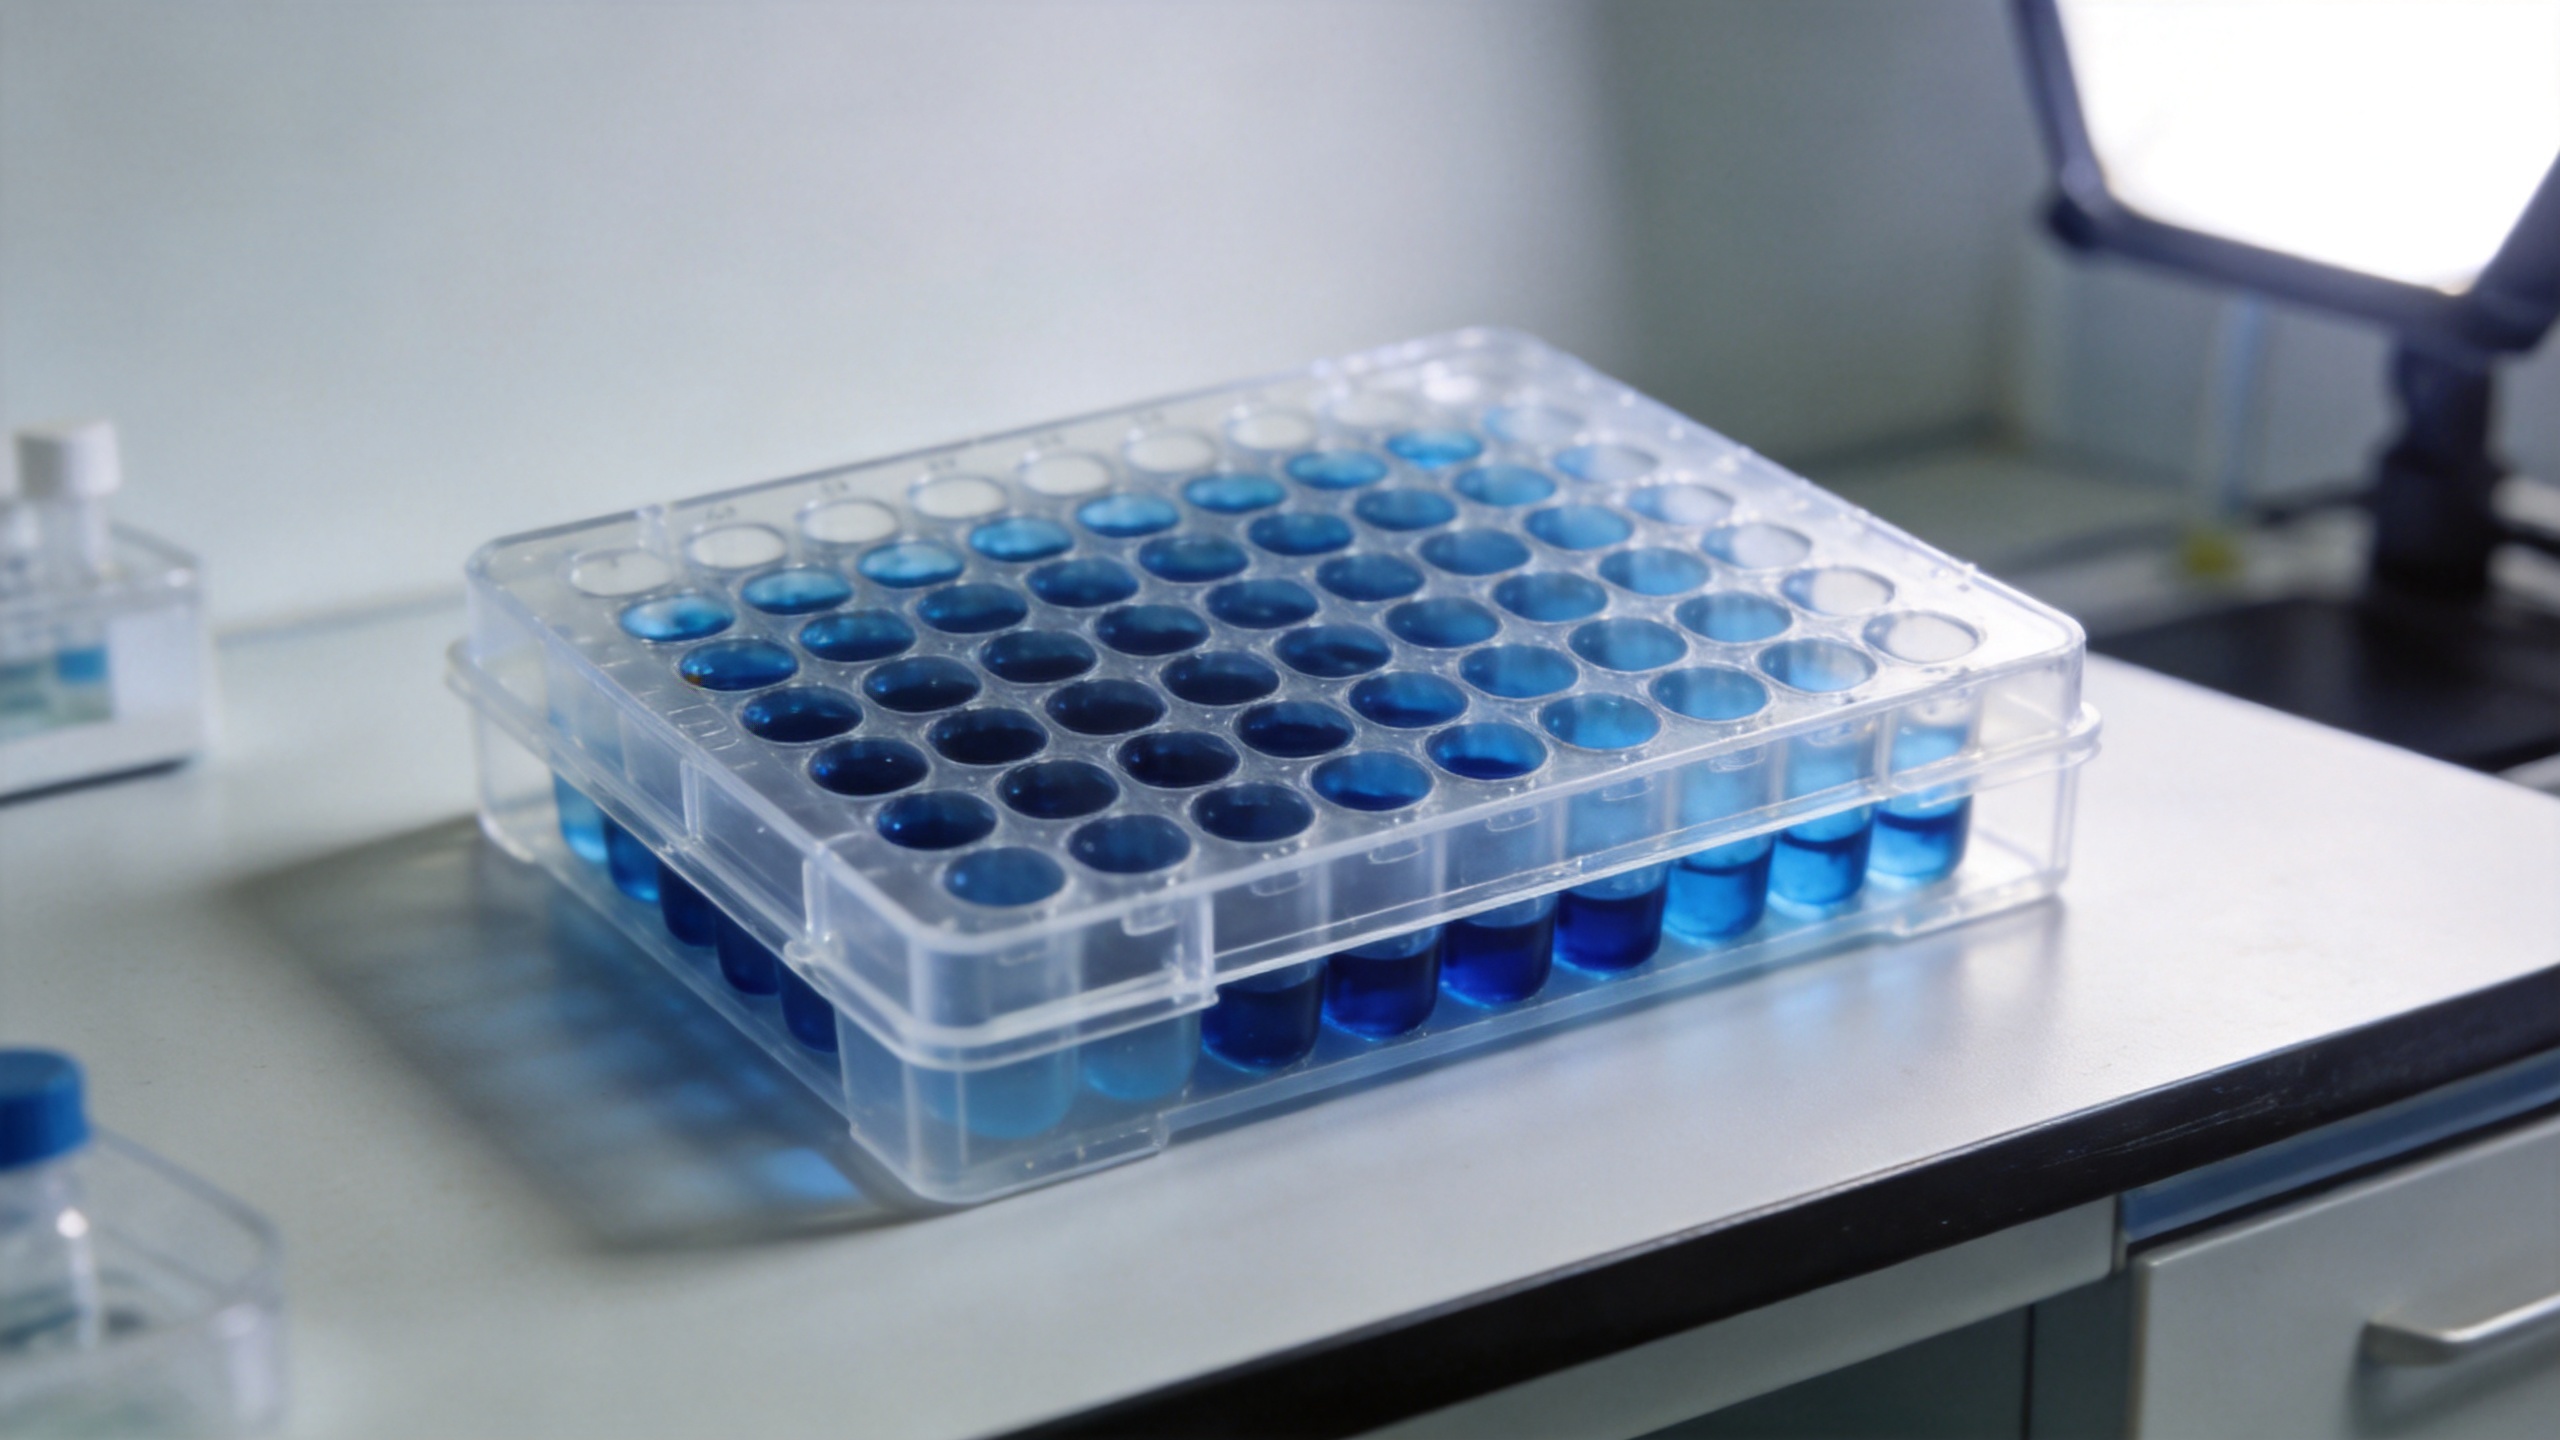
Add 100 µL of TMB (3,3',5,5'-tetramethylbenzidine) substrate to each well. Incubate in the dark for 15–30 minutes. You will see a blue color develop in wells with bound HRP — the intensity corresponds to analyte concentration in a sandwich format.
- Stop the reaction by adding 50 µL of stop solution (typically 2N sulfuric acid) to each well in the same order and timing you added the substrate. Inconsistent stop timing skews OD readings between wells.
- Read the plate at 450 nm on a microplate reader within 30 minutes of stopping the reaction. Use 570 nm as a reference wavelength to correct for optical imperfections in the plate.
If you are using a kit from a reputable human ELISA kit manufacturer, the stop solution and substrate are pre-validated as a matched pair. Substituting a different substrate or stop solution may shift your detection wavelength or alter signal linearity.
Step 7: Data Calculation and Interpretation
Use the standard curve to calculate analyte concentrations in your samples:
- Plot the standard curve: OD (y-axis) vs. known concentration (x-axis). Most kits recommend a 4-parameter logistic (4PL) curve fit for sandwich ELISA formats.
- Verify the standard curve R² value is ≥ 0.99 before using it to back-calculate sample concentrations.
- Samples that fall outside the standard curve range must be re-run with appropriate dilution. Extrapolating beyond the curve endpoints produces unreliable data.
- Multiply calculated concentrations by any dilution factors applied during sample preparation.
Initially, many labs focus entirely on sensitivity — the ELISA kit detection limit for a given cytokine assay is often cited below 10 pg/mL. But in practice, specificity matters just as much: whether the antibody pair cross-reacts with structurally similar proteins in your sample matrix directly affects the accuracy of your result. A kit validated for human serum may produce inconsistent results if you apply it to cell culture supernatant without re-validating the dilution factor for that matrix.
Common Mistakes That Compromise Results
A few protocol deviations come up repeatedly:
- Inconsistent washing: Uneven aspiration leaves residual buffer that dilutes subsequent reagents. Use a multichannel pipette or plate washer if throughput allows.
- Air bubbles in wells: Bubbles affect TMB color development — tap the plate gently after each liquid addition.
- Freeze-thaw cycles on samples: Multiple freeze-thaw cycles degrade proteins and reduce detectable antigen concentration. Aliquot before freezing.
- Skipping reagent equilibration: Cold reagents added to room-temperature plates create temperature gradients that affect binding kinetics unevenly across the plate.
- Misidentifying kit format: Applying a sandwich assay standard curve formula to a competitive ELISA kit result inverts your interpretation — high signal reads as high concentration when the opposite is true.
Running a successful ELISA assay is a skill developed through precise repetition. If your current kit is producing variable results despite careful technique, it may be time to evaluate whether the kit specifications — sensitivity, validated matrices, and antibody cross-reactivity data — are actually suited to your specific analyte and sample type. Sourcing from a qualified human ELISA kit manufacturer with documented lot-to-lot consistency data makes troubleshooting significantly easier, because you can compare your results against a known baseline rather than guessing which variable changed.